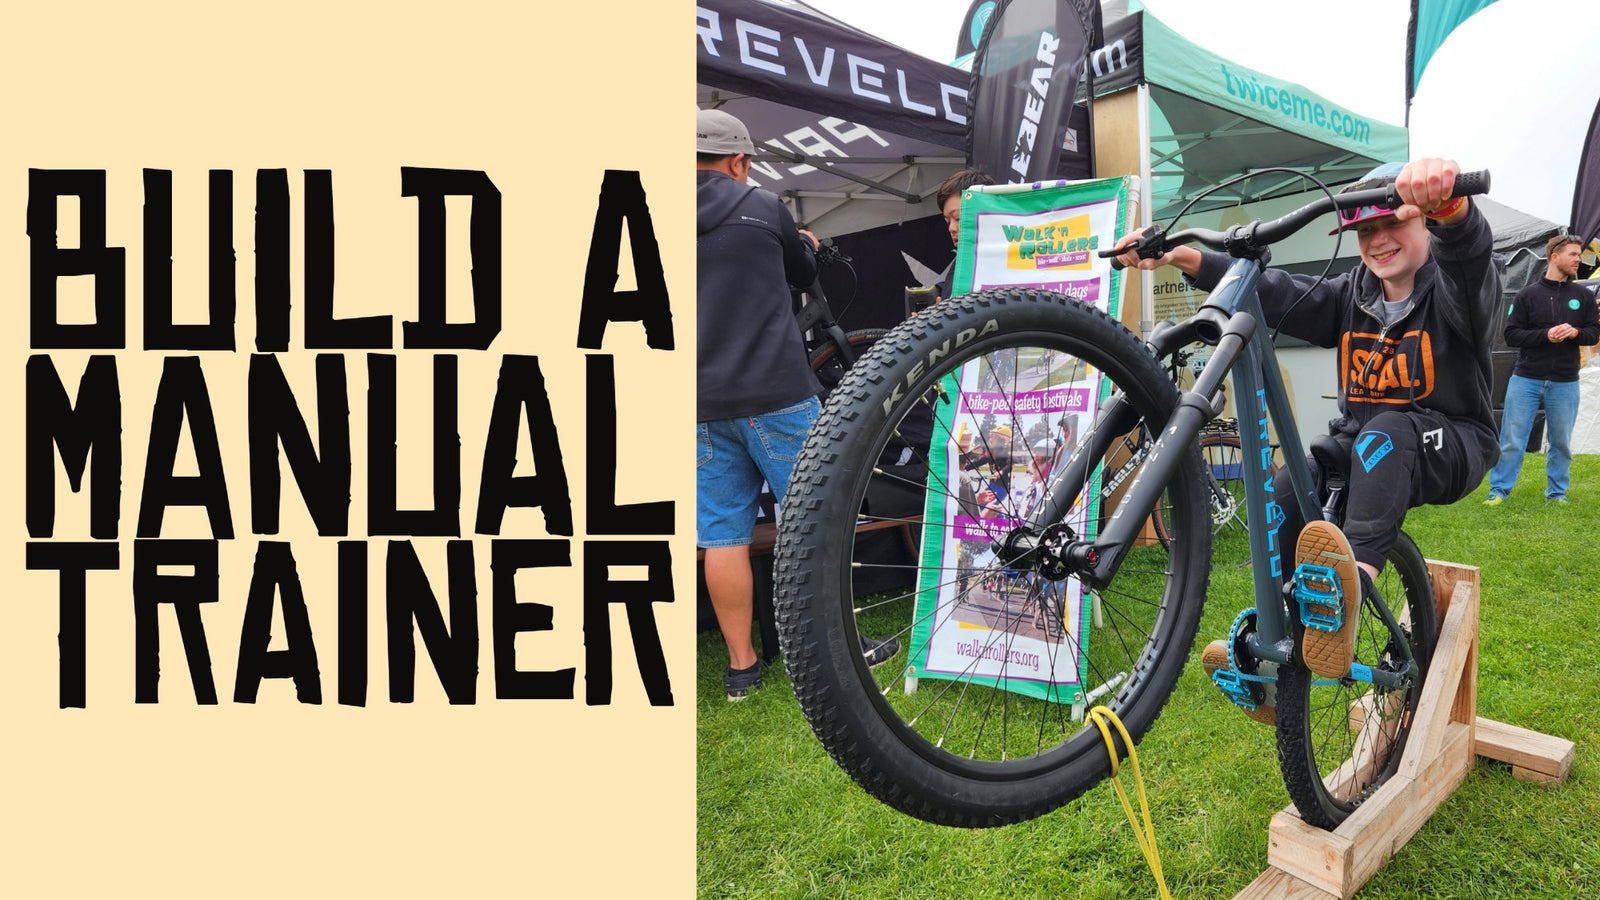
Manualing is a super useful skill for any off-road rider. A manual is a technique where you keep the front wheel of your bike off the ground, helping you navigate puddles, obstacles, and adding an element of fun to your trail rides. A manual is different from a wheelie because doing a manual the rider doesn't pedal. However, learning to manual can be challenging. It requires finding the right body position and coordinating the push from your legs with the pull from your arms. With practice, you can perfect this skill, and you can start practicing right in front of your house or in your garage using a homemade trainer.
Building your own manual trainer is a rewarding weekend project that you can do with your kids. For around $30 in materials and 30 minutes of your time, you can create the perfect device to help you master the manual.
First, some lawyer stuff. Always remember to use caution and wear proper protective gear, both when building and when using your manual trainer. This job requires some level of experience with cutting and drilling. With that in mind, we're not wood working pros (we're bike pros) and we were able to do it. After you build your trainer, please make sure to test it's durability before your kid tries it!
Tools Required
- Circular Saw
- Drill
- Tape Measure
- Pen/Marker
- Safety Glasses

Materials Required
- 8ft long 2" x 6" board
- 8ft long 2" x 4" board
- 3" wood screws
- 1 eye bolt screw
- Bungee cord

Step 1: Measure and Mark your boards
Marking 2x4
- 24" wide (quantity 2)
- 16" wide on top, and 9" wide on the base (quantity 2)
- 5½" wide (quantity 2)

Marking 2x6
- 48" wide
- 18" wide
- 30" wide

Step 2: Cut your boards
Rest your board on some saw horses (or whatever you have to hold the wood off of the ground). Use your circular saw to cut along each mark you made on your boards.
Step 3: Assemble the cross brace
Pieces needed:
- 30" 2x6 board
- 5½" 2x4 boards (quantity 2)
Layout your boards as shown below.

Install 2 screws on each side to hold the boards together. TIP: predrill all of your holes you avoid cracking/splitting the wood.

Step 4: Assemble the base
Pieces needed:
- Cross brace
- 48" 2x6 board
Slide 1 end of the 48" 2x6 board underneath the cross brace, and secure together with 2 screws.

Step 5: Mount the main tire rest
Use 2 screws from underneath to mount the 18" 2x6 board to base as shown below.

Step 6: Mount the horizontal tire braces
Mount the two 24" 2x4 boards as shown below. We used 4 screws per side to secure the 2x4's. 1 screw through the back rest, and 3 screws through the base board into the 2x4.

Step 7: Install final supports
Mount the 2 angled supports as shown below. It can be tricky to get the screws in place. We ended up drilling 4 screws per side. (2 at the top and 2 at the bottom).

Step 8: Mount the eyelet
Predrill a small hole at the end of the base and screw in your eyelet. The eyelet is used to attach a bungee cord to the front wheel to prevent your little one from falling back.

Final Step: Test fit the bike!

